


When you think of Banoffee Pie you usually think of an indulgent childhood favourite. A pudding only to be enjoyed occasionally. Maybe you’ll take a long walk afterwards, work it off.
What if you could have a Banoffee Pie that was jam-packed with nutritional value instead? Maybe even with added protein? No, that’d be crazy.
Except it’s true!
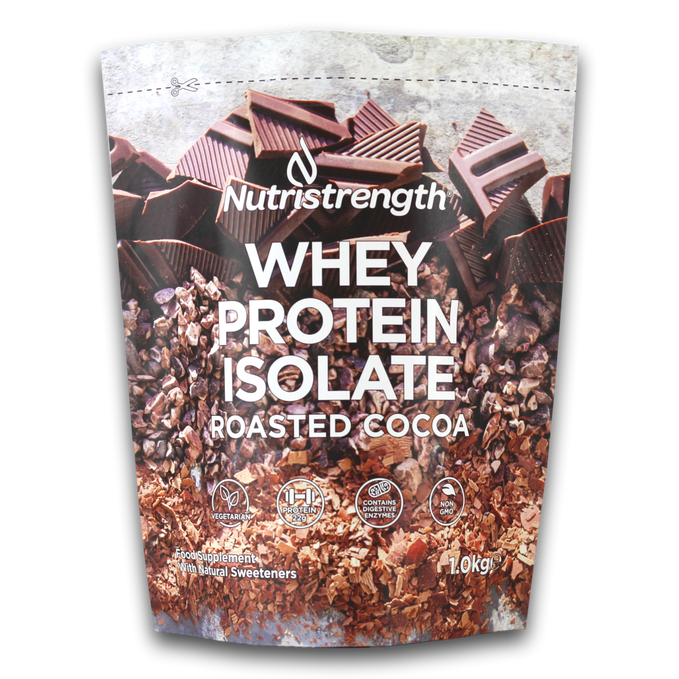
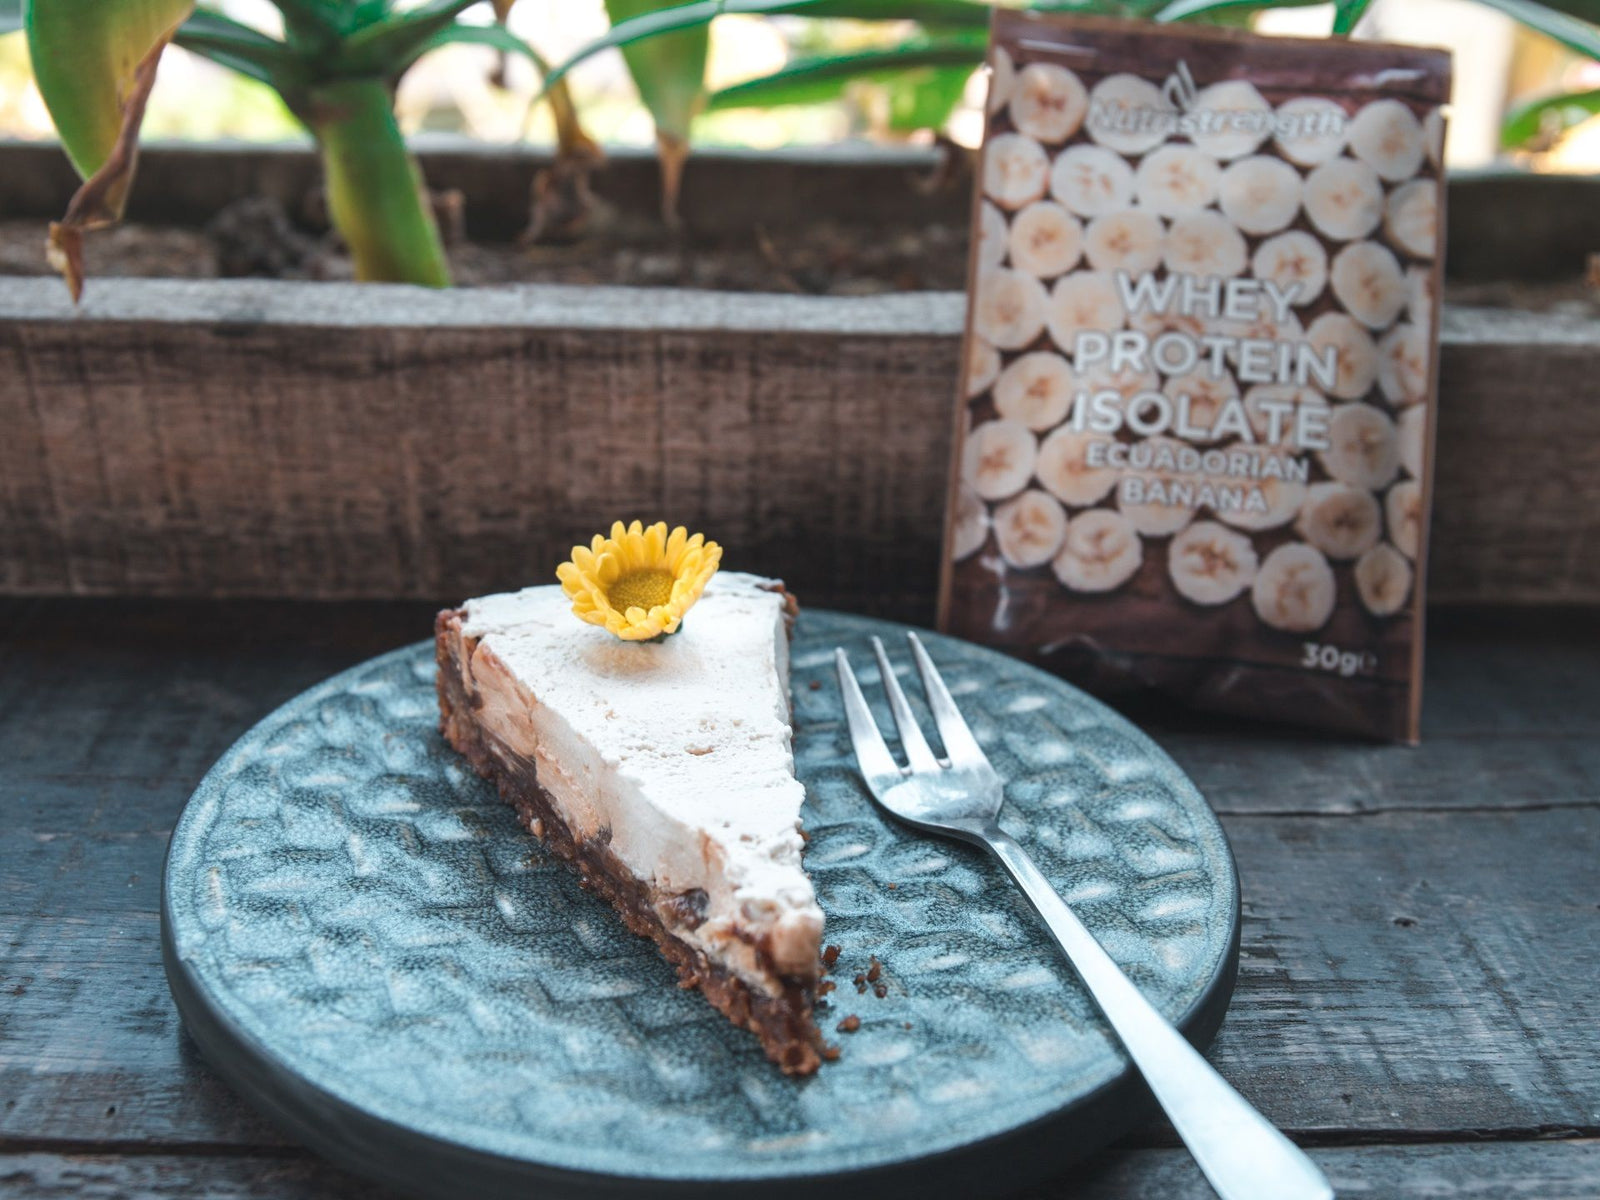
This protein Raw Banoffee Pie is made with our natural whey protein isolate in Ecuadorian Banana flavour so it’s completely natural and free from artificial sweeteners, colours and preservatives.
What’s more, this recipe doesn’t need any baking whatsoever. All you’ll need is a food processor, a cake tin and a fridge freezer.
Easy to make, no-bake and healthier than the traditional pud, what’s not to like? Give it a go and let us know what you think!
Ingredients
Base Ingredients
1.5 cup Almond Flour
1 handful Soft Dates
1 tbsp Coconut Sugar
2 tbsp Shredded Coconut
1 tbsp Nutristrength Coconut Oil
1tbsp Almond Butter
¼ cup Water
Cream Ingredients
1 scoop of Whey Protein Isolate Ecuadorian Banana
2 cups Pre-soaked Cashews
1 tsp Natural Sweetener
1 Banana
2 tbsp Coconut Cream
Topping
- Whipped Coconut Milk (1 chilled can of coconut cream and 2 tbsp maple syrup)
Banoffee Pie Method
- Add all the base ingredients to a food processor and blend until you get a sticky mixture.
- Line a baking tray or cake tin then add the base mixture and press down evenly with your hands.
- Place the base tin in the fridge while you make the banoffee cream.
- Add the pre-soaked cashews, coconut cream, natural sweetener, protein powder and banana to a food processor and blend until smooth and creamy.
- Spread the banoffee cream mixture on top of the chilled base and place in the freezer for 30 minutes.
- Add the coconut whipped cream on top and then place back in the freezer for 1-2 hours.
- Slice, serve and enjoy!
So there you have it! We hope you enjoy making this protein pudding recipe as much as you enjoy eating it. Remember to take photos of your creation, we love to see them and be sure to tag us with #ExploreSomethingNew!